How to Make a Regency Round Reticule
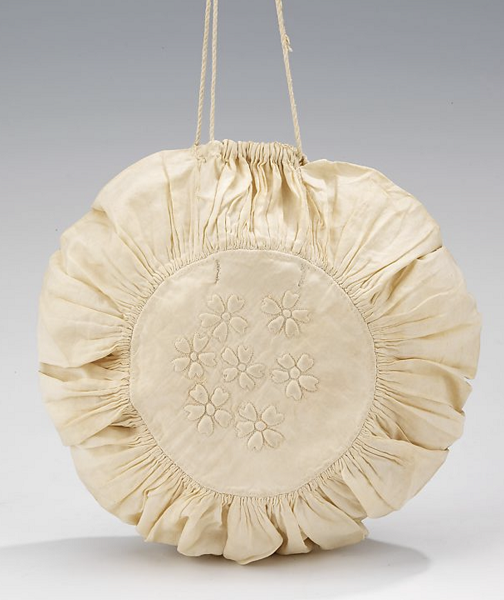 The MET had a photo
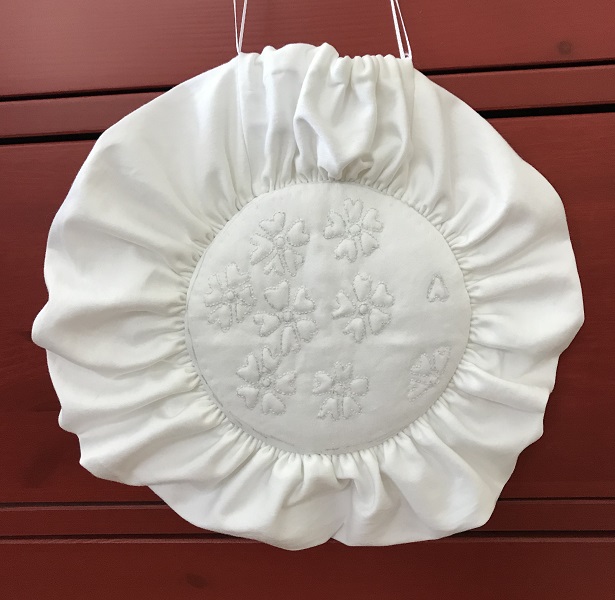
of an extant Regency white cotton round reticule with top drawstring opening.
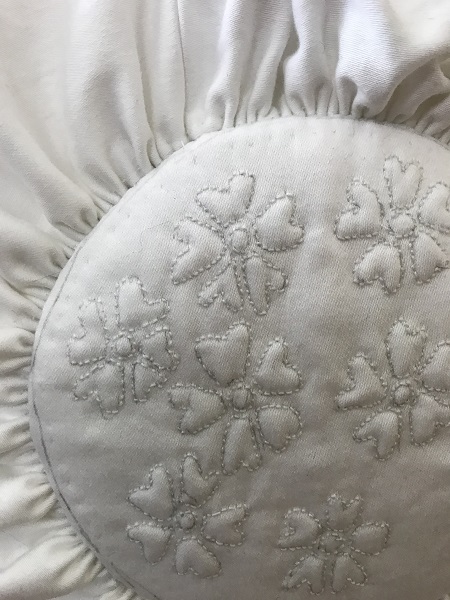
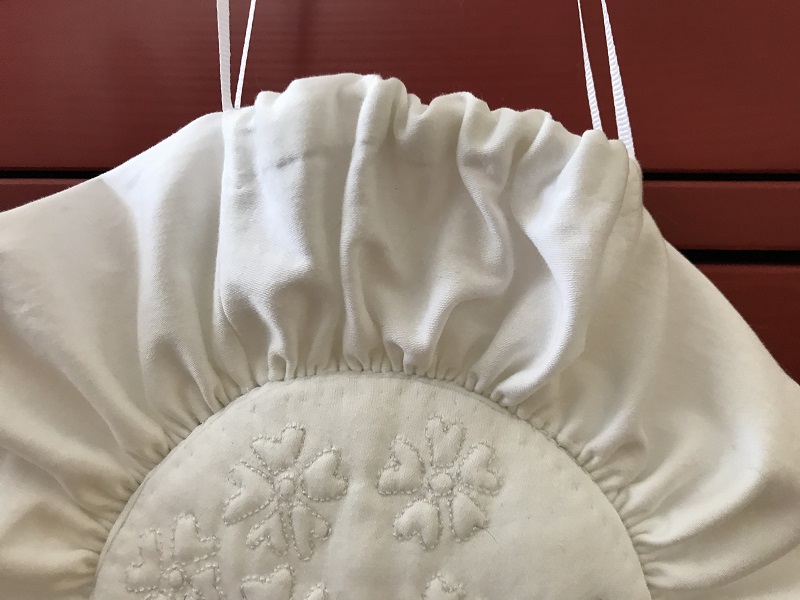
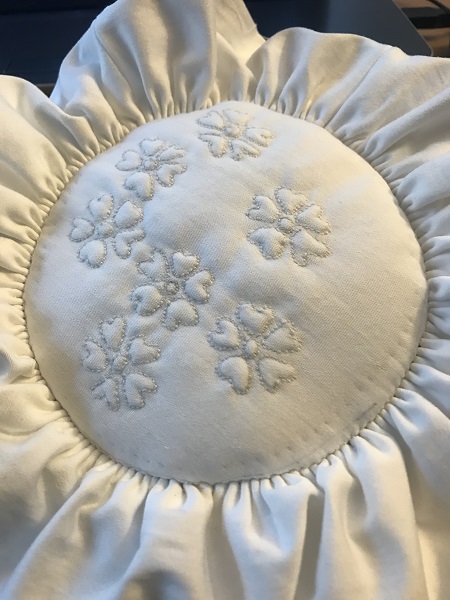
The center medallion has quilted flowers with the edge prickstitched. The gathers appear to be stitched to
the medallion so possibly cartridge pleated or whip gathered and then joined.
The MET had a photo
of an extant Regency white cotton round reticule with top drawstring opening.
The center medallion has quilted flowers with the edge prickstitched. The gathers appear to be stitched to
the medallion so possibly cartridge pleated or whip gathered and then joined.
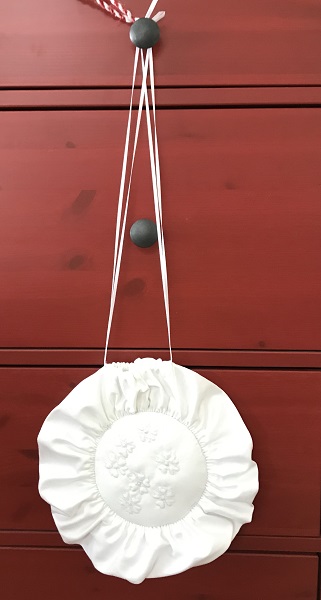
This tutorial shows how to make a reproduction round reticule using fabric and interfacing. The original would have used different backing materials.
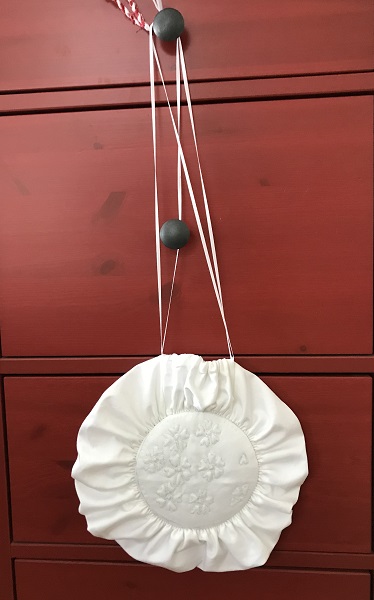
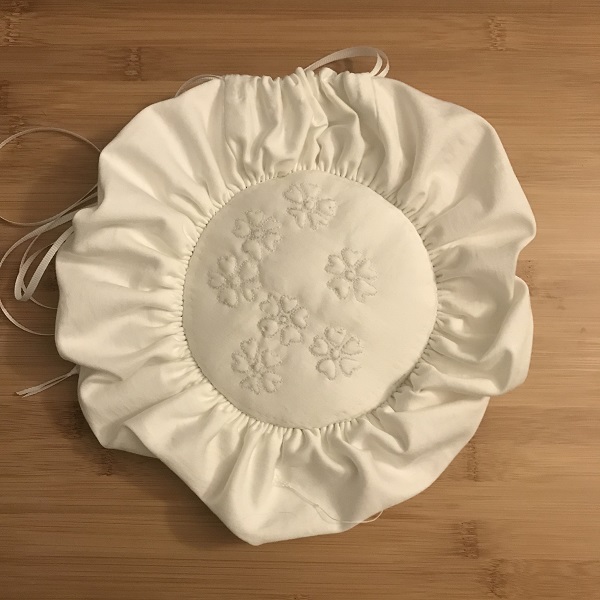
Here is what the finished reticule in cotton spandex. The sides ended up
slightly thinner than the original so the side strips could be widened slightly. The fabric on the original
looks like it was thinner (polished cotton?) and the strip possibly longer with more gathers.
Materials
- Cotton fabric
- Medium to heavy interfacing or stiff backing for medallion center
- Quilt batting
- Thread for sewing, quilting, and cartridge pleating
- 2 - 34" Thin cording or grossgrain ribbon 1/8" wide
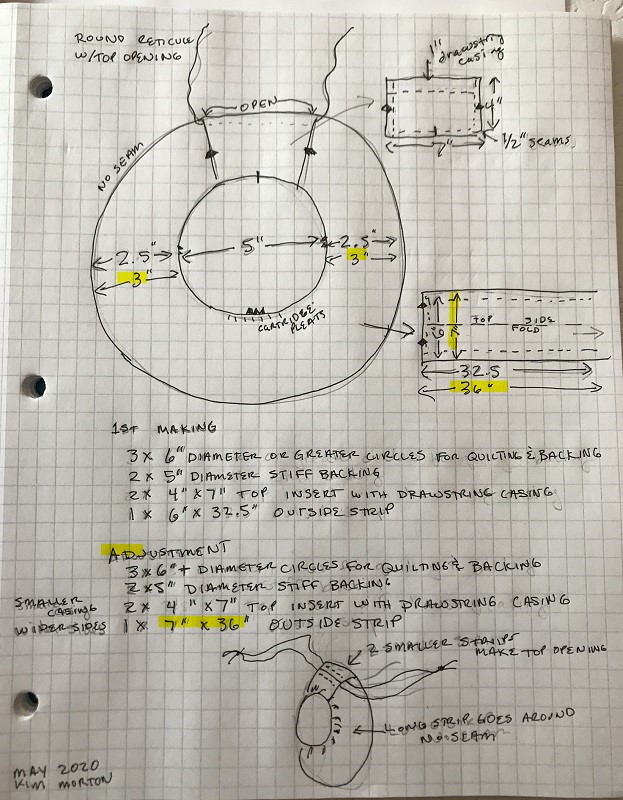
First Pattern
These are the measurements used for the first reticule made and pictured. Seam allowance 1/2".
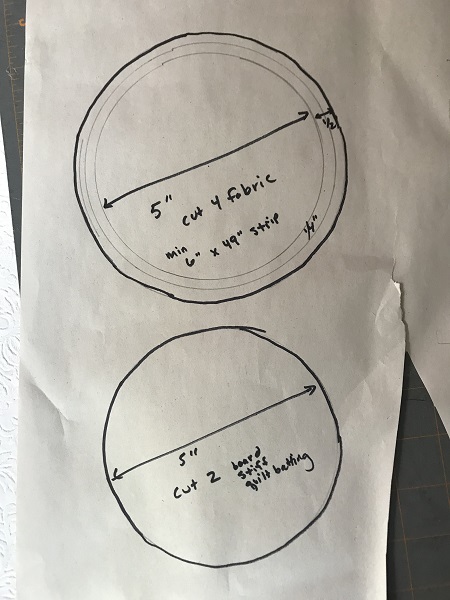
- 6 - 6"+ diameter circles may want extra allowance for quilting and quilt backing
- 2 - 5" diameter circles stiff backing
- 2 - 4" x 7" top inserts with drawstring casing
- 1 - 6" x 32.5" long outside strip
Pattern Adjustment
If making another reticule, would adjust the outside edge/sides to be slightly wider and make the casing for the drawstring slightly smaller (which by making the larger strip wider will automatically make the drawstring casings on the top inserts smaller). Seam allowance 1/2".
- 6 - 6"+ diameter circles may want extra allowance for quilting and quilt backing
- 2 - 5" diameter circles stiff backing
- 2 - 4" x 7" top inserts with drawstring casing
- 1 - 7" x 36"+ long outside strip
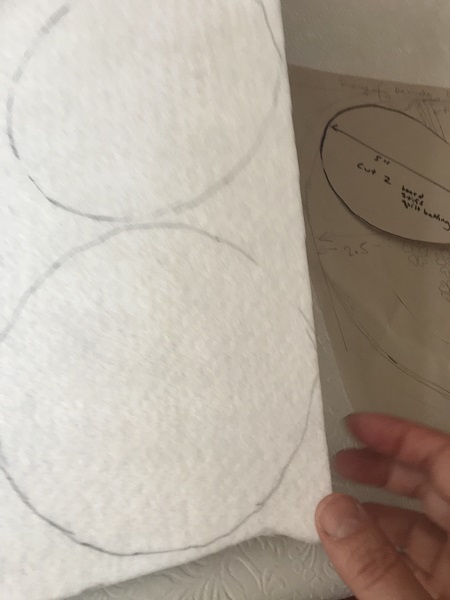
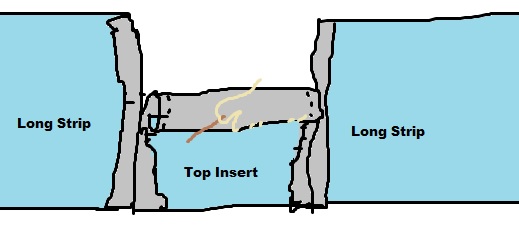
Pattern sketch
Steps
- Trace 5" circle on fabric and cut with big margins (not pictured)
- Draw the flowers or your own design in the center (not pictured)
- Cut another piece of fabric and some batting and sandwitch the pieces together (not pictured)
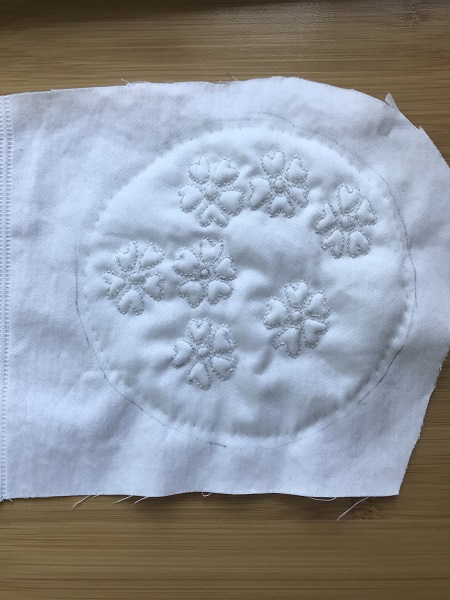
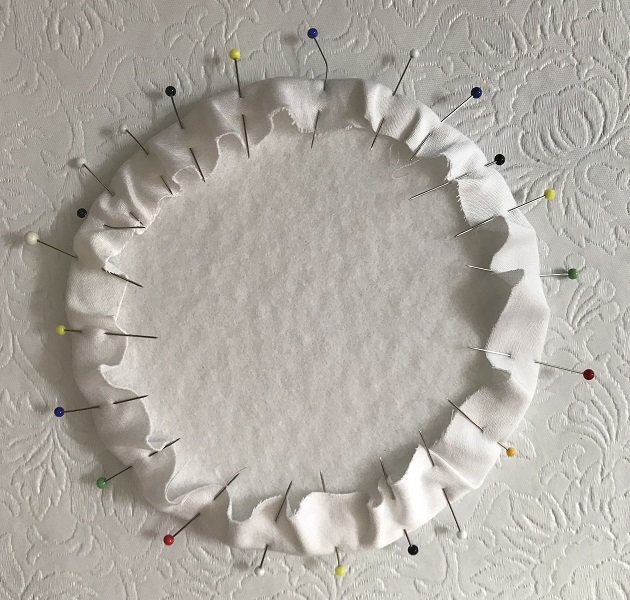
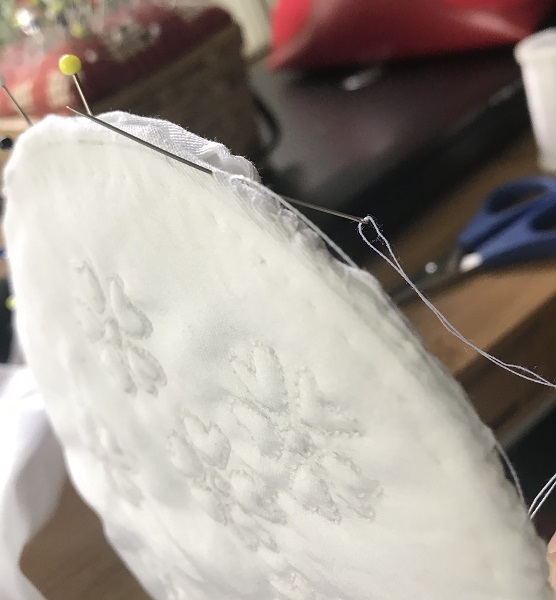
- Prickstitch around inner edge of medallion to keep the pieces together
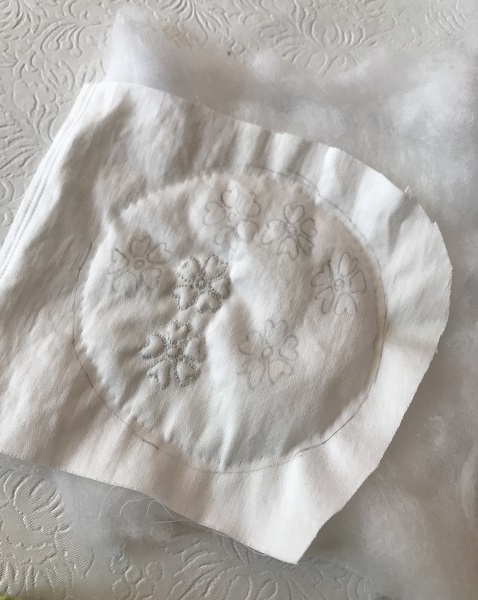
- Quilt the flowers. I used heavy thread and did a very small backstitch to mimic the original. I started
quilting the first medallion before doing the edge. I, also, didn't use
a quilt hoop which totally could be done.
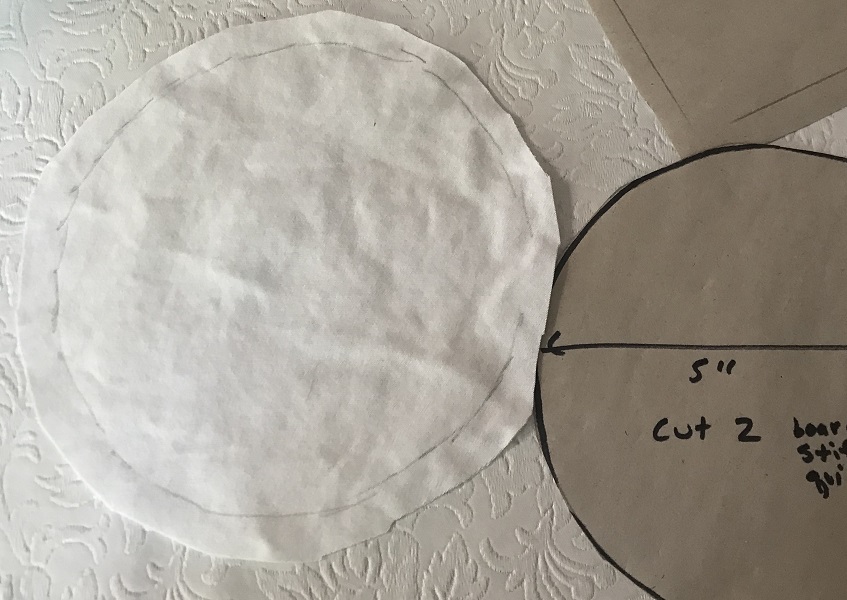
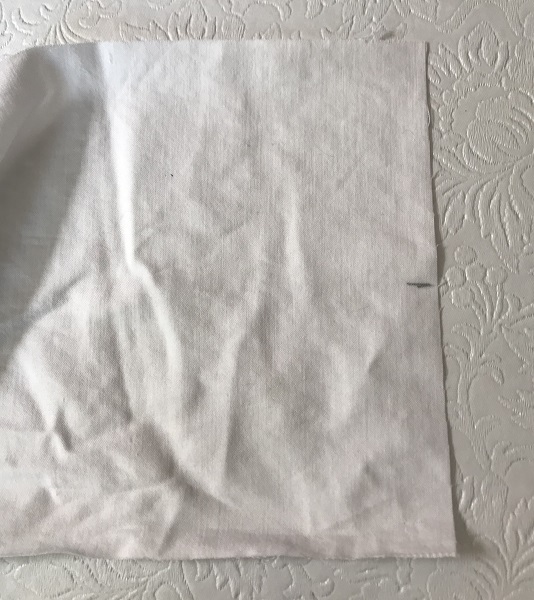
- Back of quilted flowers with quilting trimmed off
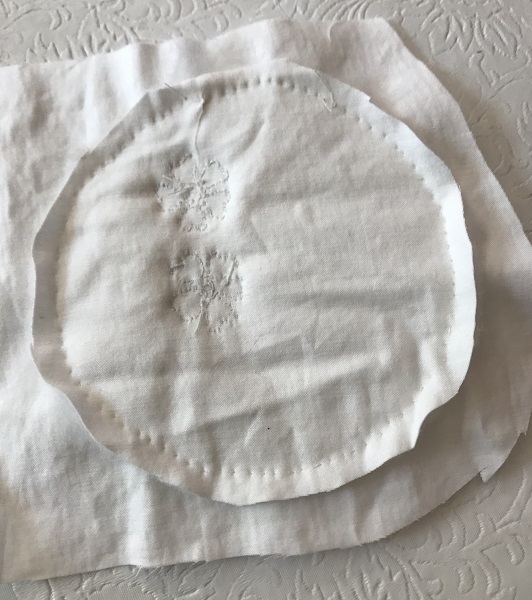
- Trace and cut out two pieces of heavy pellon or medallion backing - 5" diameter
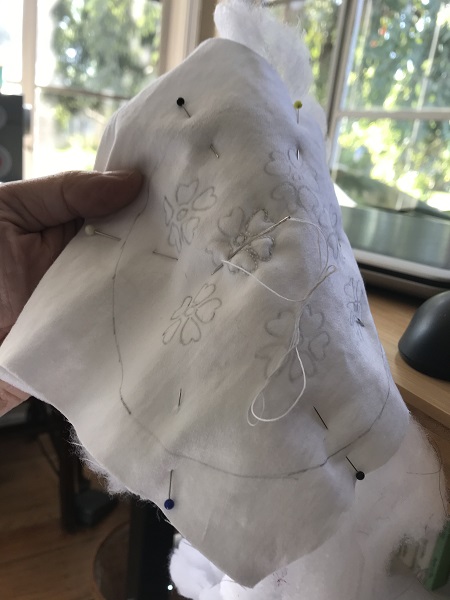
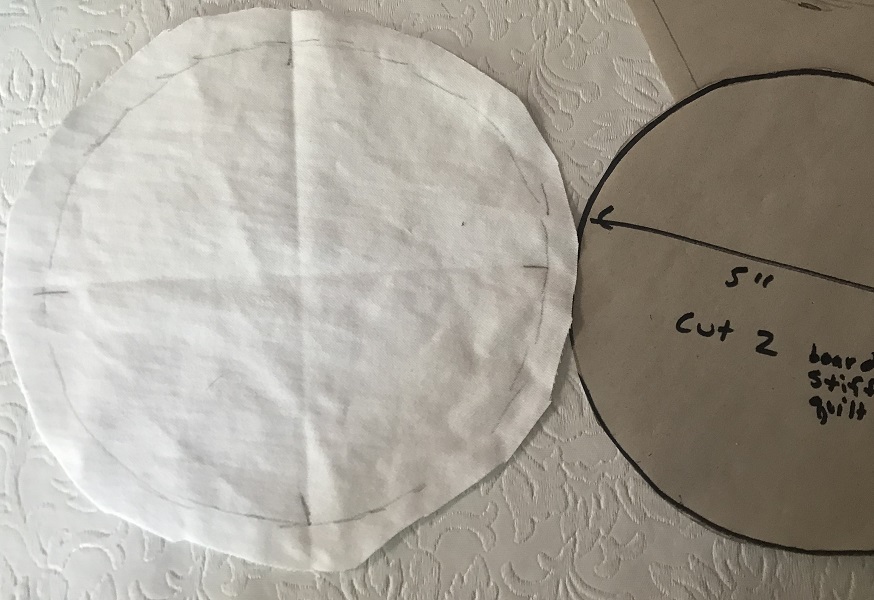
- Trim the upper fabric if not circular. Pin quilted piece to backing
- Cut out 5" circle with small seam to use as backing.
- Make marks on the quadrants of the circle (fold in half and then fold in half again)
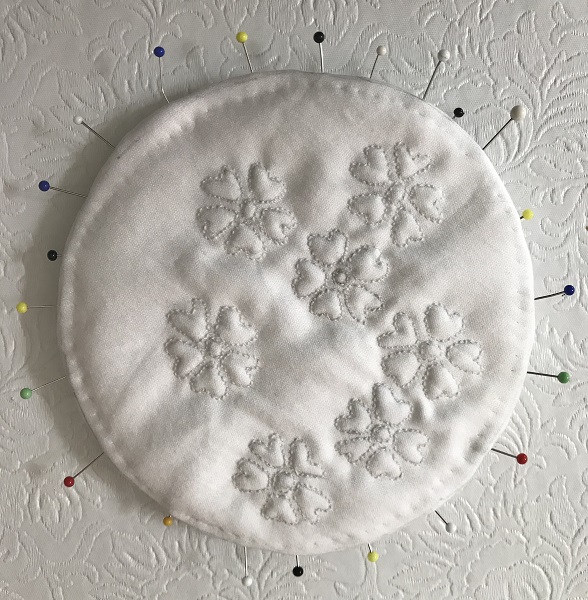
- Fold seams inside and pin to back
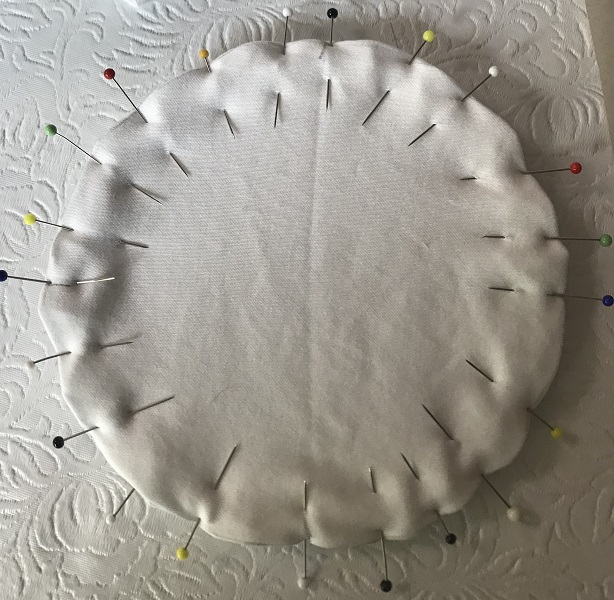
- Sew back to front
- Make another medallion for the other side with same steps. You should end up with two, one for each side. (not pictured)
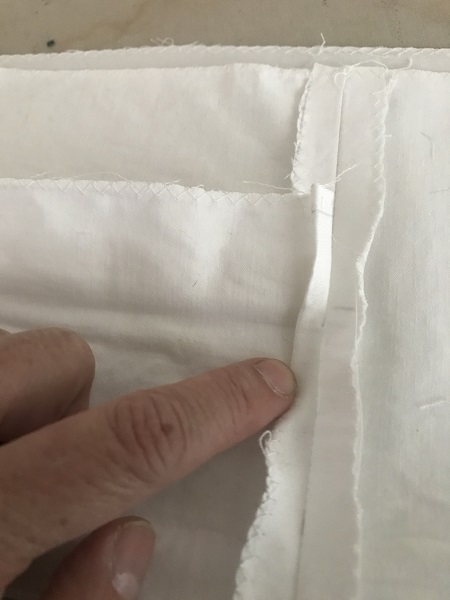
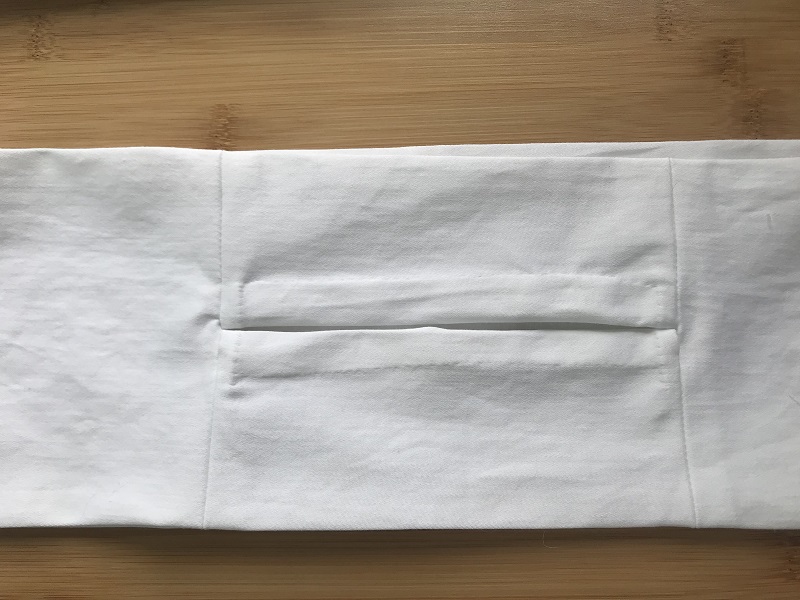
- On the long strip, mark the middle of the shorter sides - (3" or 3.5") on both sides
- Pin one of the 4" pieces to each side
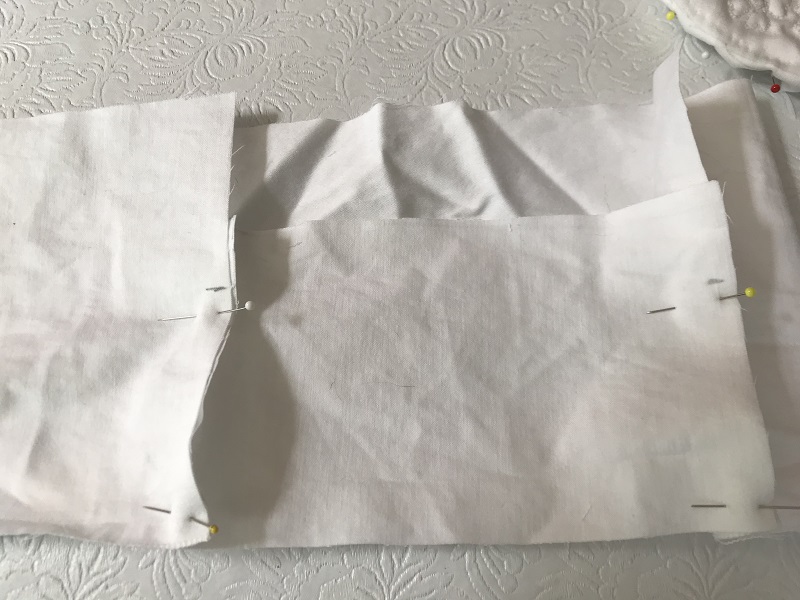
- Sew leaving at least 1/4" gap on both sides of mark (this one was too close)
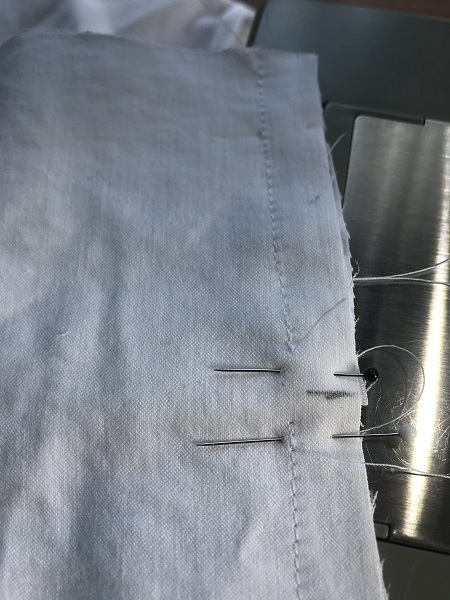
- At this point, zig zag, whipstitch or finish edges if you'd like (not pictured)
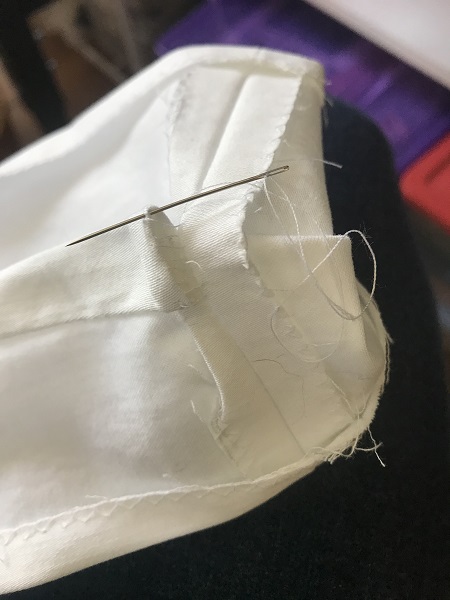
- Fold or iron the the top of the seam twice to make a narrow hem (near the middle mark).
- Blind hem stitch

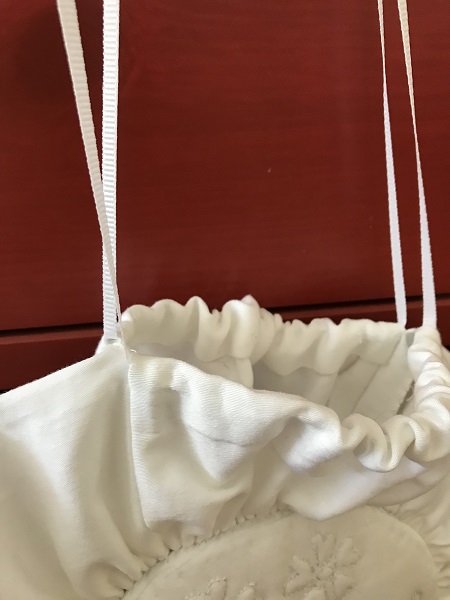
- Fold tops twice to make casing and hem stitch
- Stitch back edge of casing to opposite seam leaving 1/4" open at the top for drawstring.
- Iron hems on both sides 1/2"
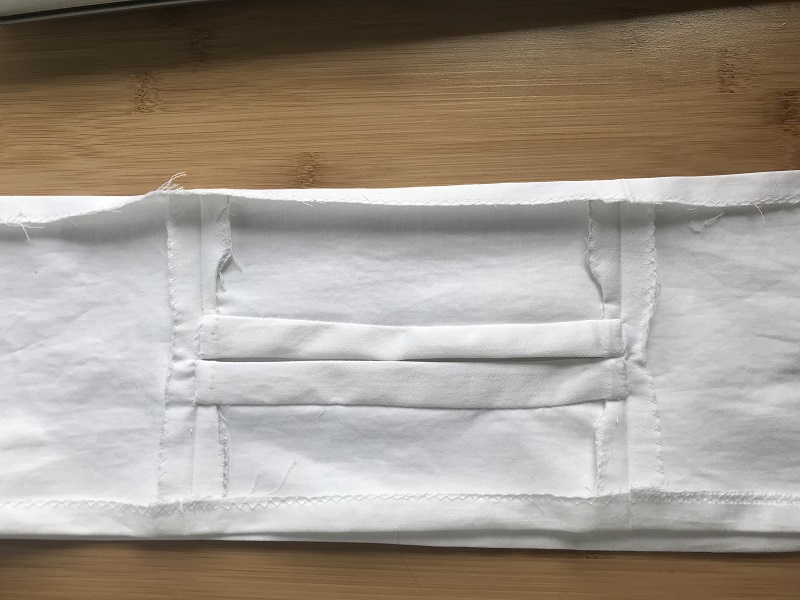
- Right side of fabric. Should make one big loop.
- Using heavy thread, make cartridge pleat spacing approx. 1/4" or smaller apart
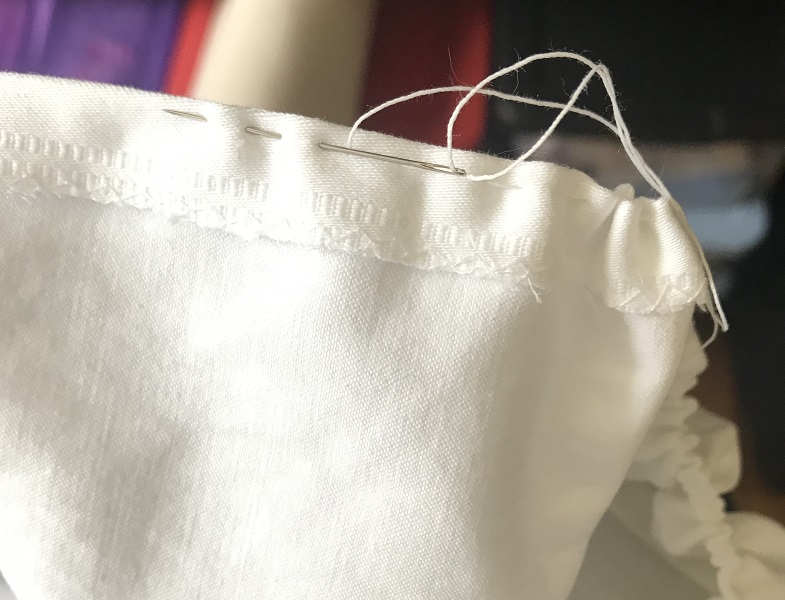
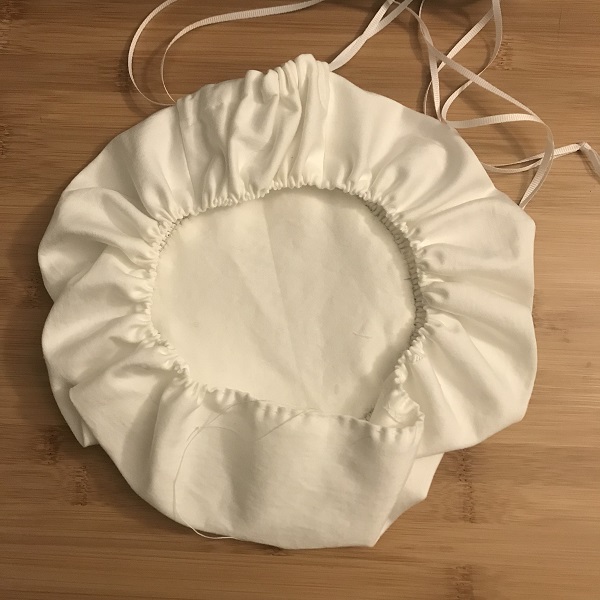
- Pin right side of strip to right side medallion at four corners. Cartridge pleat.
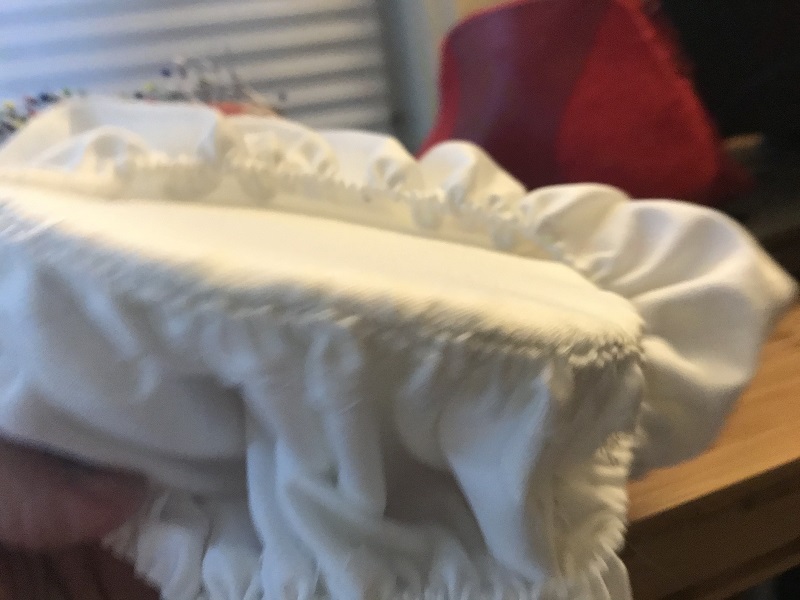
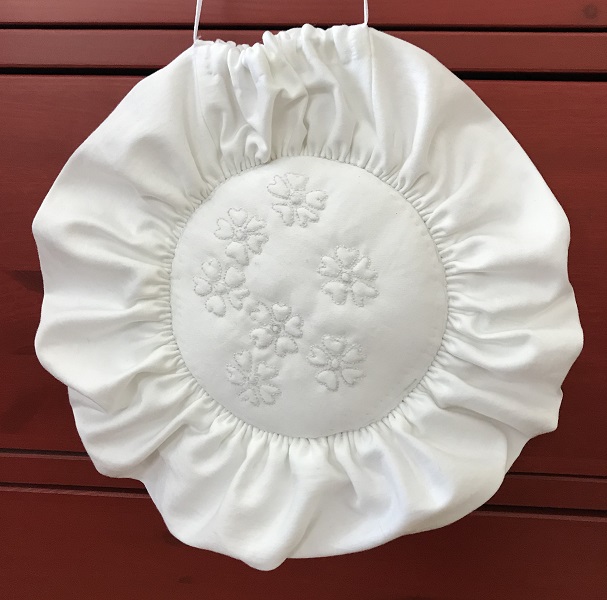
- Cartridge pleats on medallion
- Do same for other side and thread in drawstring. I used 34" inches in both casings and then knotted them together.
Completed: 2 May 2020