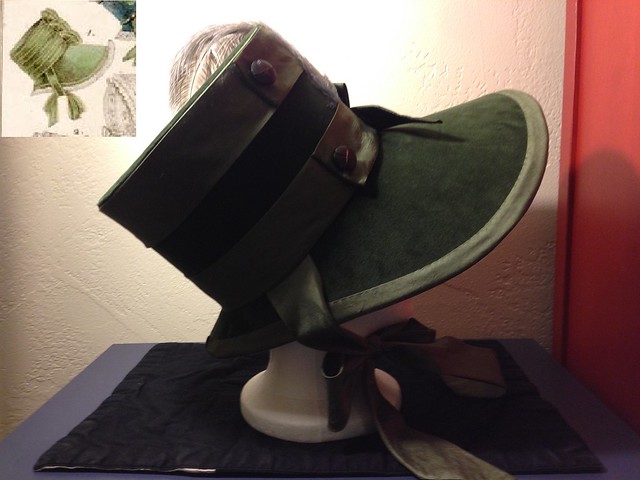
This olive Regency shaped bonnet was made as part of outerwear for a GBACG tall ship
adventure which never happened.
My blog construction posts follow:
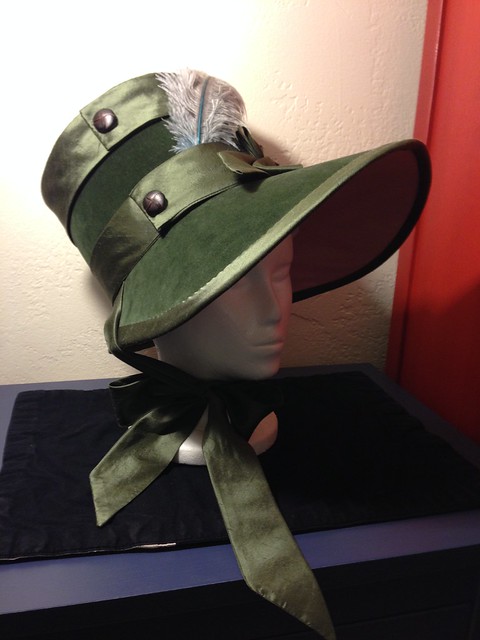
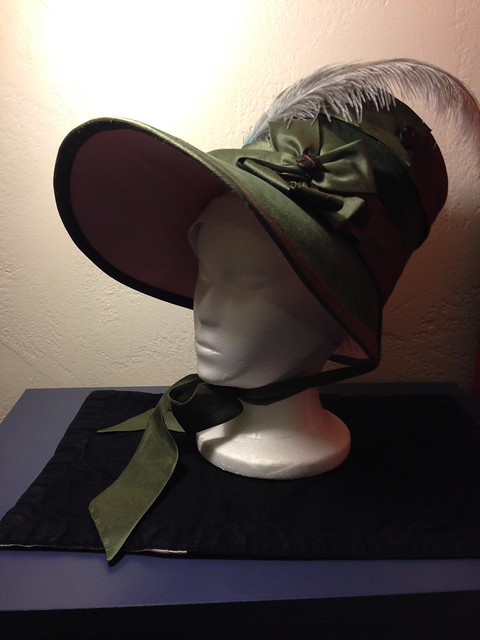
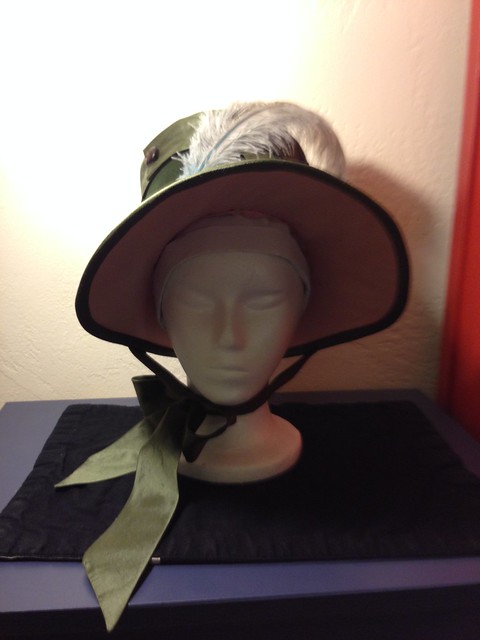
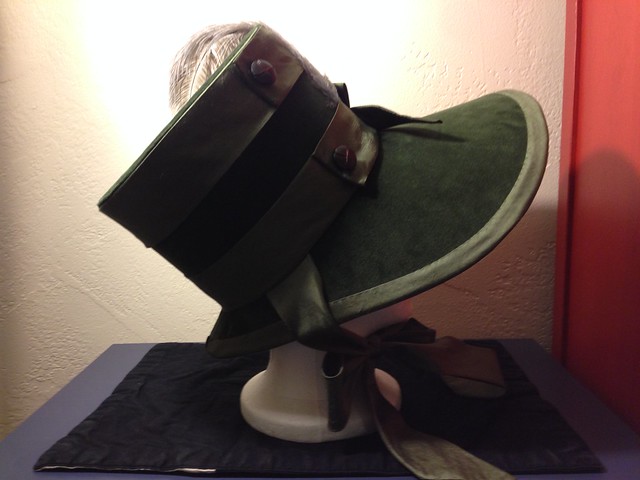
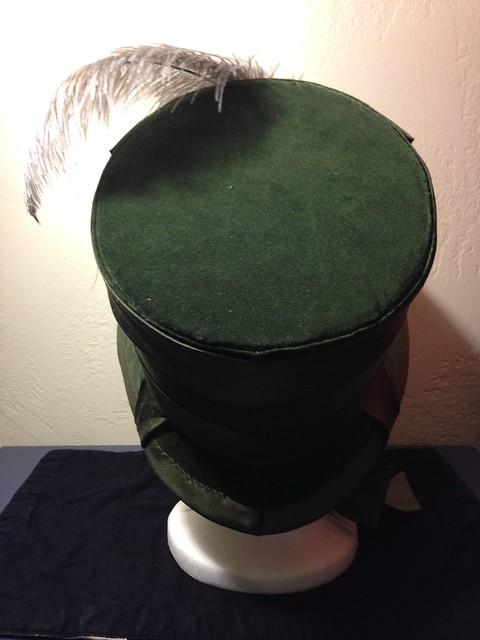
I call it done for now
[20130928]
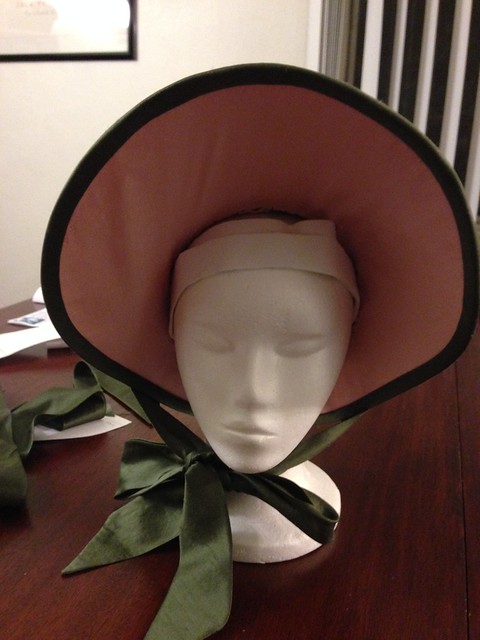
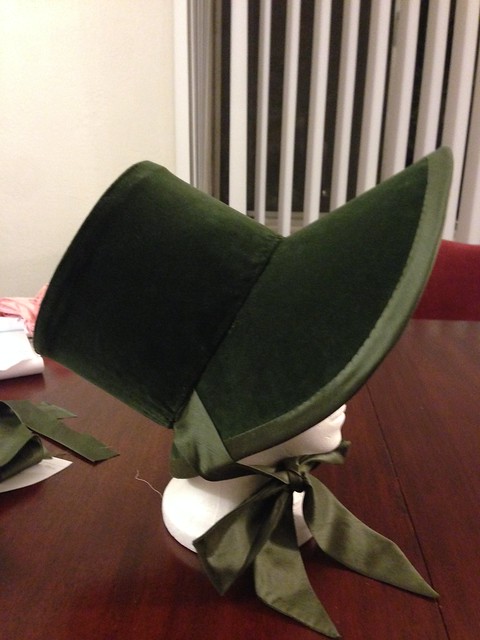
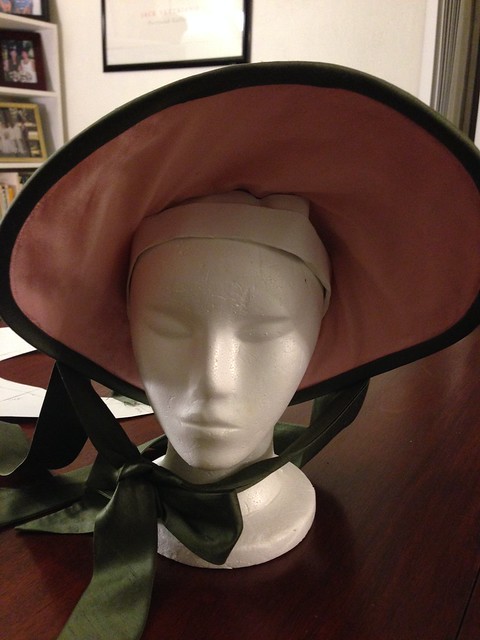
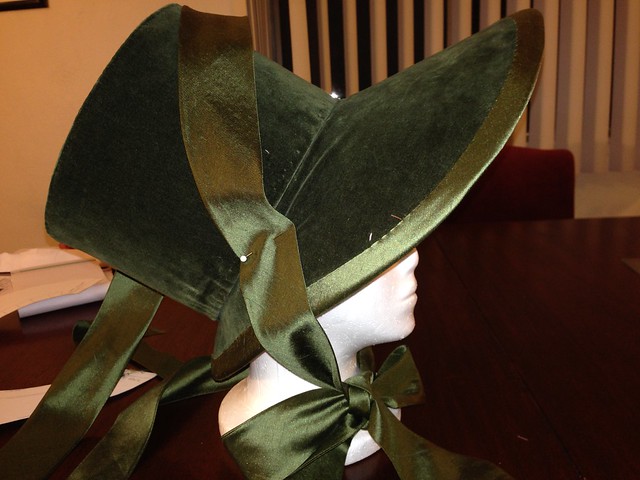
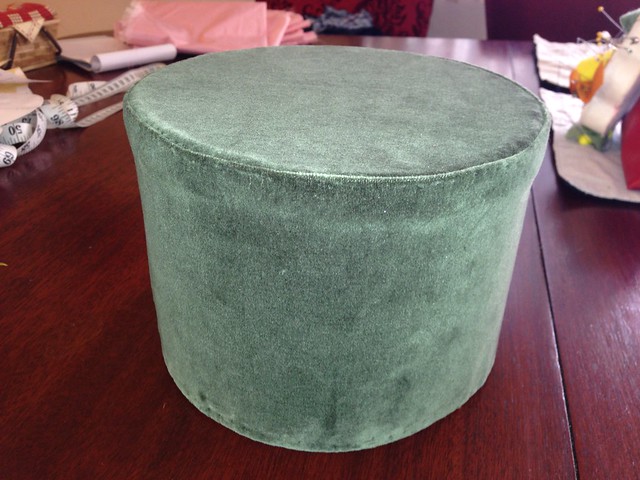
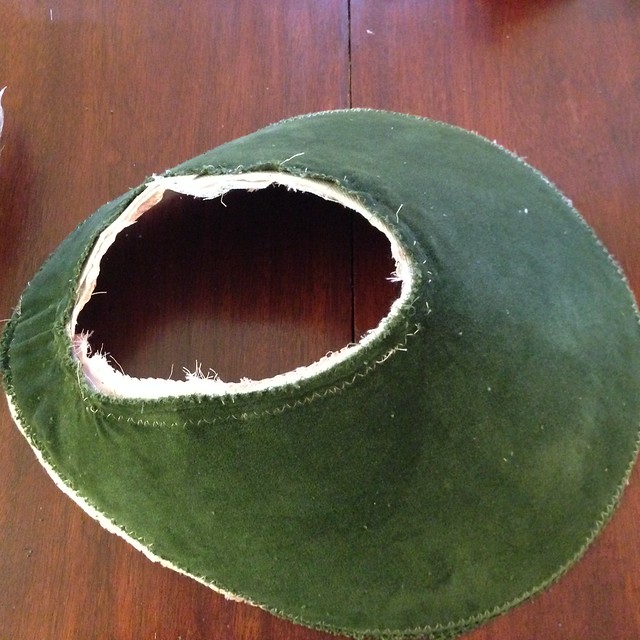
I finished the trim and glued and sewed in the lining and will call it down for now. It's not quite like the fashion plate, but close for me making the pattern myself.
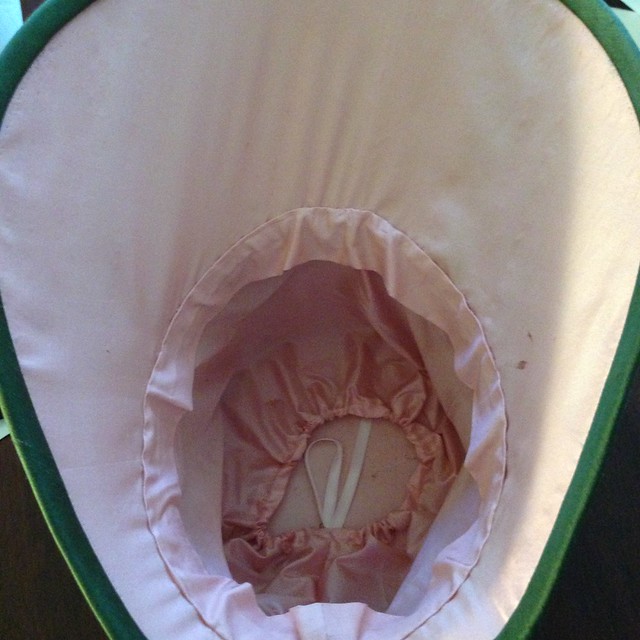
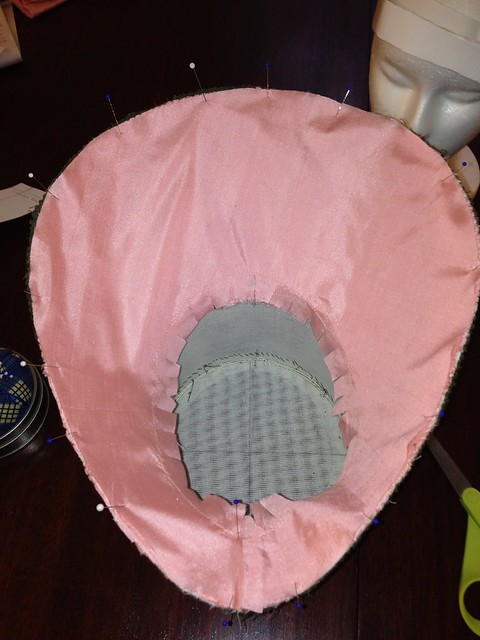
Lining
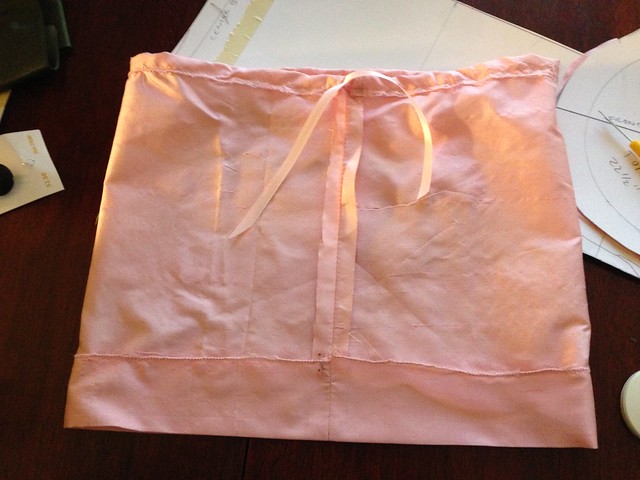
Glue and stitch witchery and heavy interfacing with lining

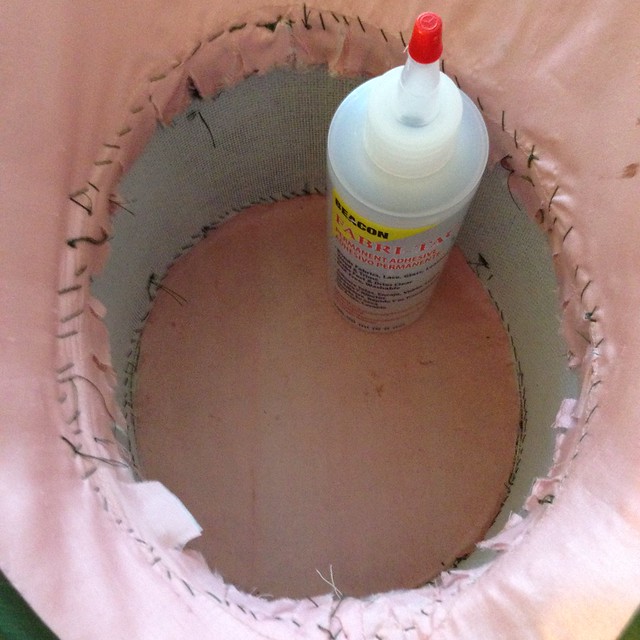

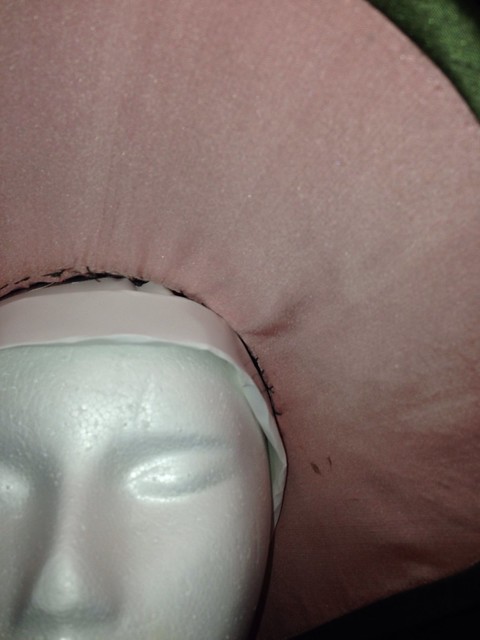
Glue Goof
[20130925]
See the dark spot on the lining? That's dried glue, dagnabit! It is not going to come off the silk.
I pinned on trim and I think I cut the middle buttoned sections too short by an inche each side. I may have to sew some another section of "ribbon" to get longer ones.
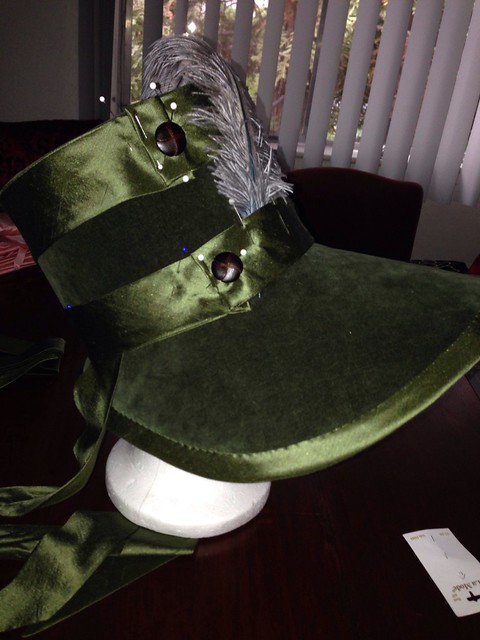
Regency bonnet progress
[20130924]
Binding on and crown sewn to brim as well as ribbons. Next step may be gluing brim to crown because I don't trust the stitching not to pop.
Still bonnet work
[20130922]
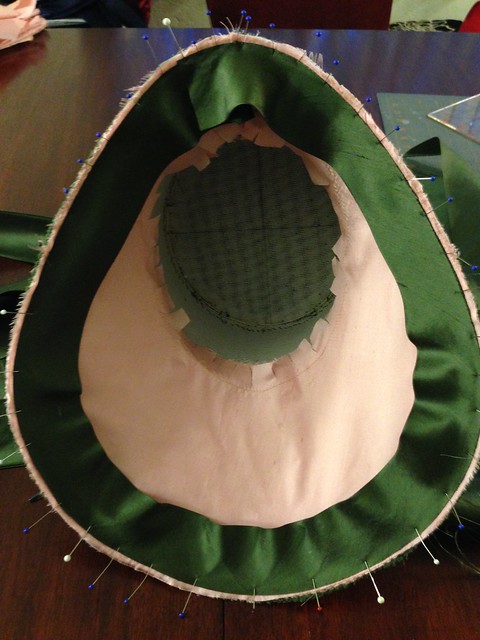
Instead of finishing the bonnet today, I did a lot of seam ripping and redo-ing. Redid the inside lining that I messed up by trying to glue iron on. Made bias seam tape for the bonnet edge and tried stitching it on twice before deciding it was too thin and then ripping off one more time before sewing on a wider tape. Made silk ties and then decided they looked too thick compared to Regency fashion plates (that appear to have thinner ties than Victorian bonnets) so had to resew them as well.
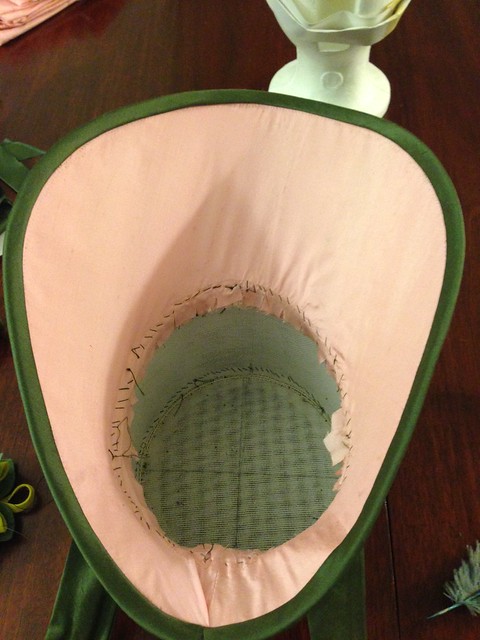
Redo inside brim
Testing trim with the too thin binding and too fat ribbon ties. You can see how the binding doesn't flip up to cover the stitching.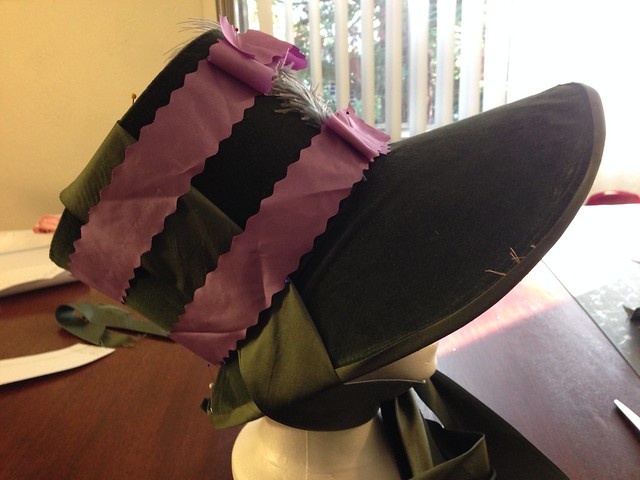
Redo binding
Sewing binding (photo shows sewing the thinner binding too far away from the edge).

Interior view with sewn binding
Exterior view of binding and look with thinner ties Brim is only tacked on to crown so hopefully some of the velvet bubbling will be fixed later.
Next Steps on the Bonnet
[20130922]
Iron on the binding
Sew fabric on top
Sew fabric on crown. Not sure I like the extra bulk around the top seam.
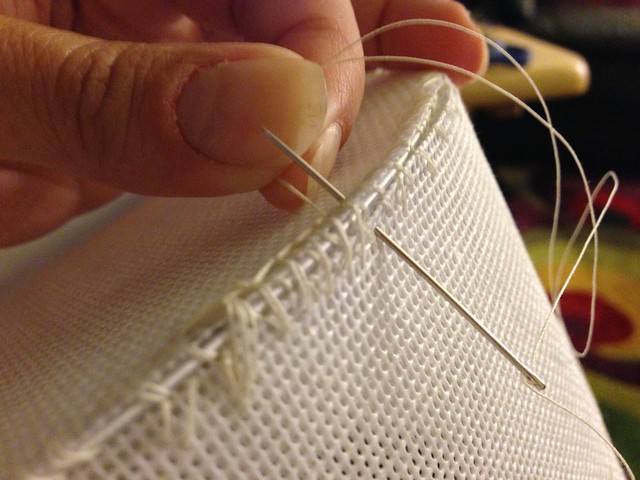
Pin fabric to brim and thought it was too loosey goosey so decided to try to use Stitch Witchery
Stitch Witchery left bubbles so not sure I like that result either.
Stitch fabric to brim, but it also is not smooth.
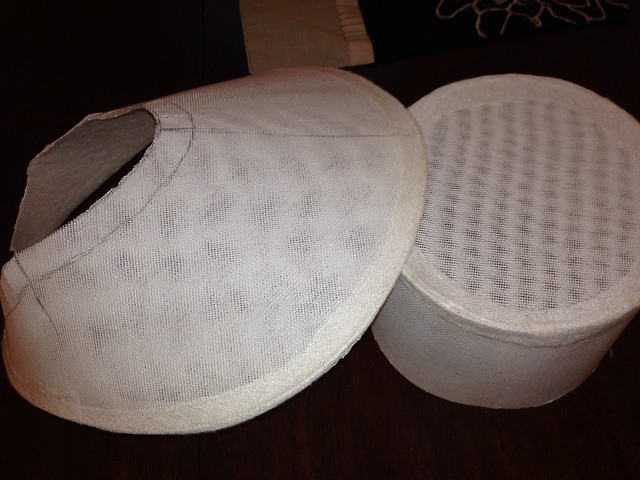
Regency bonnet buckram framing top to crown
[20130920]
Tacked the top to crown at marks.
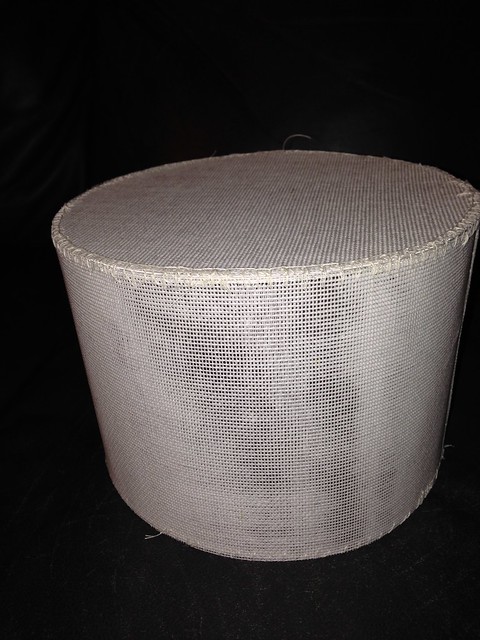 Sewed top to crown.
Next: Going to try to use soft iron-on interfacing from stash as binding over edges and as faux mulling for inside brim.
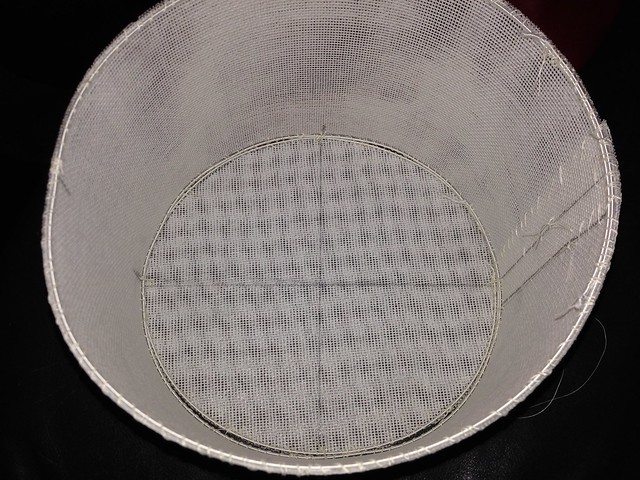
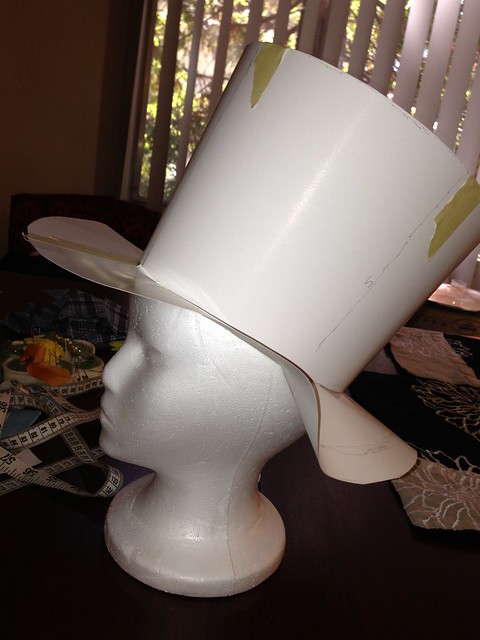
Regency Bonnet Buckramed
[20130919]
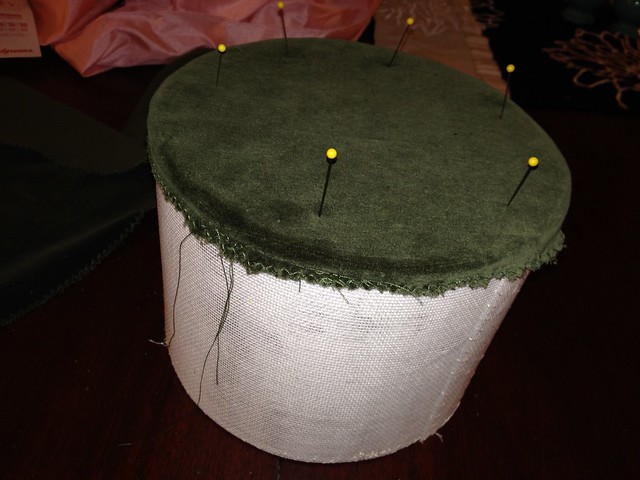
Here is the bonnet double double-weight buckram with millinery wire around the edges and center back seams sewn up.
I cut the edges of the brim a little early.
Next up: sew the top of the crown on. Then maybe some binding around wire edges and maybe fake mull the inside of the brim.
I'm not sure what the inside of a fall/winter Regency hat was. Wool? Silk?
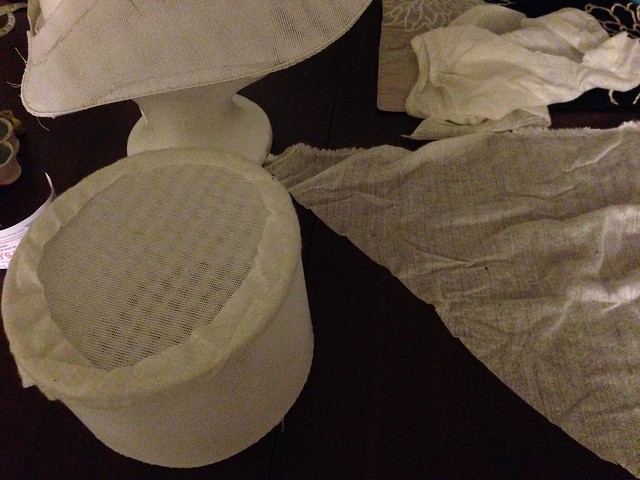
Regency bonnet hat
[20130915] My sewing machine is in the shop for, at least, two weeks. It doesn't hold speed, starting at a good clip and then getting slower and slower and slower until it stops entirely. Pulling out the foot pedal and putting it back in fixes temporarily. Buying new pneumatic foot pedal did not fix.
So, while it is in the shop, I started thinking about making a Regency bonnet for the GBACG Tall Ship event.
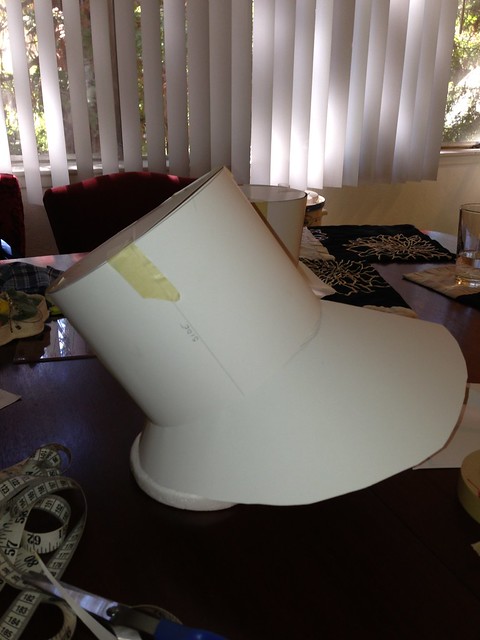
I thought I could use a top hat pattern as a base and just add a couple of inches to the crown. I was wrong.
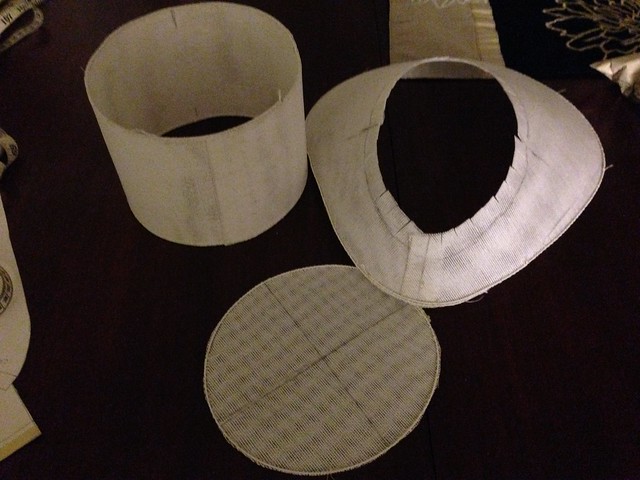
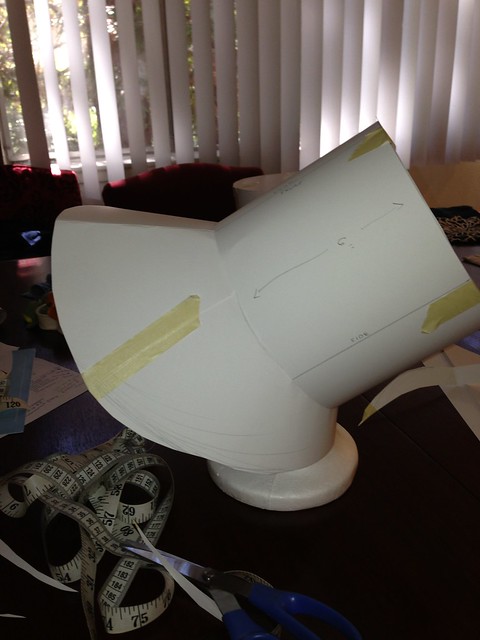
So, I tried again with a 6" crown and a bigger brim.
I took in part of the big brim, but it still did not look like the fashion plates.
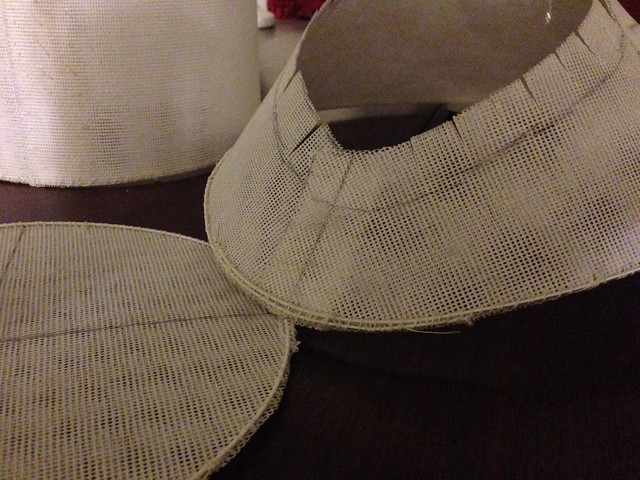
I shortened the crown to 5" and took in more along the side to make it flat for the ribbon ties and then added a guesset triangle to the front of the brim and did some shaping along the edge.
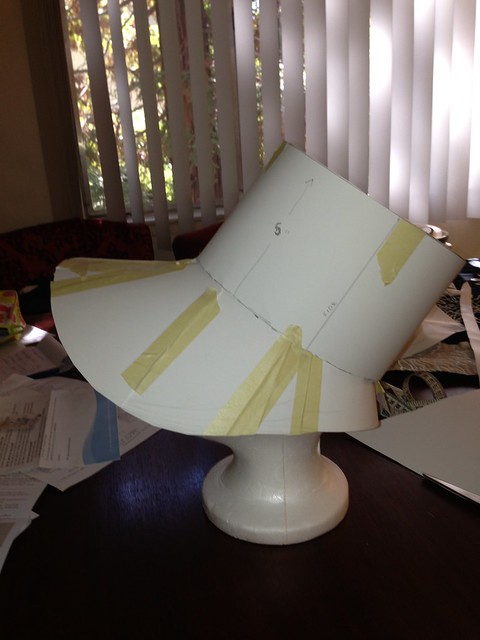
Added more to the front and to the back of the brim to give more of the angle seen in fashion plates.

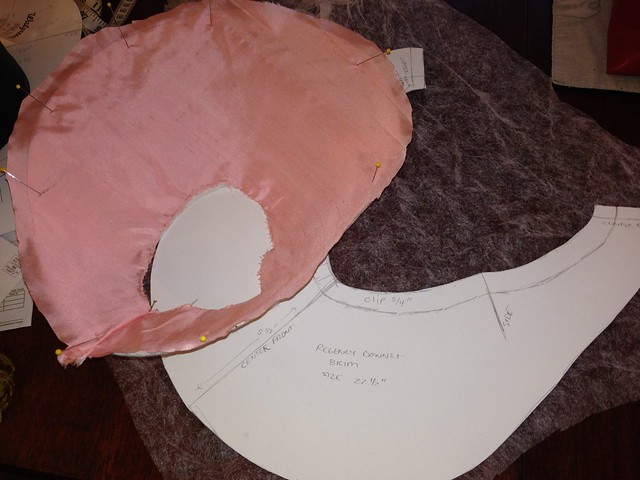
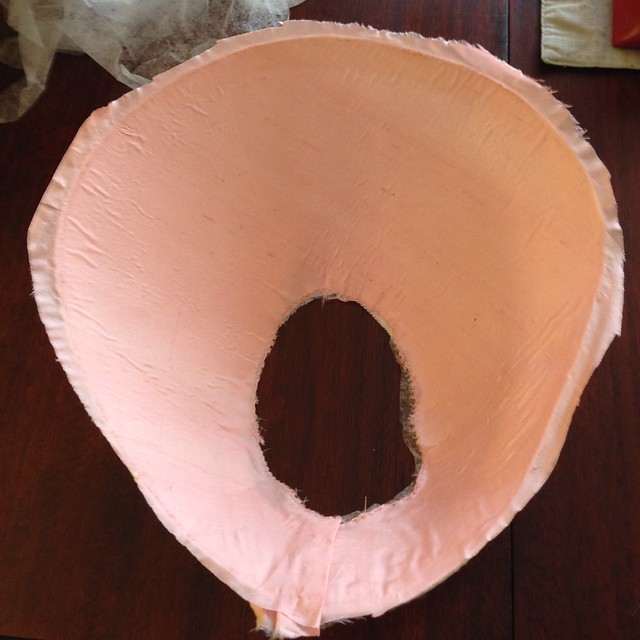
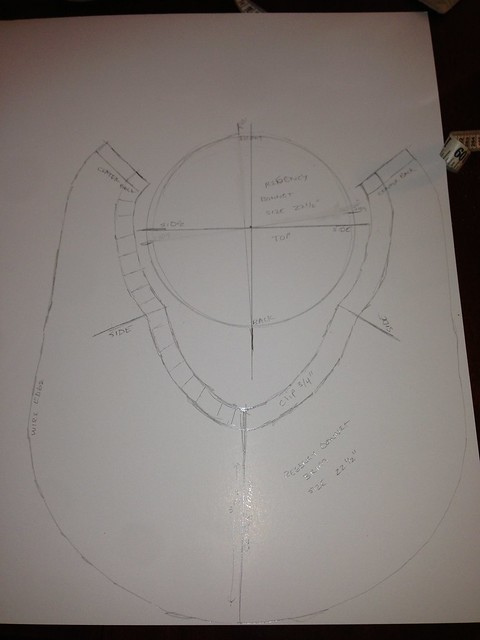
The shape of half the brim after cutting it off at center front and back.
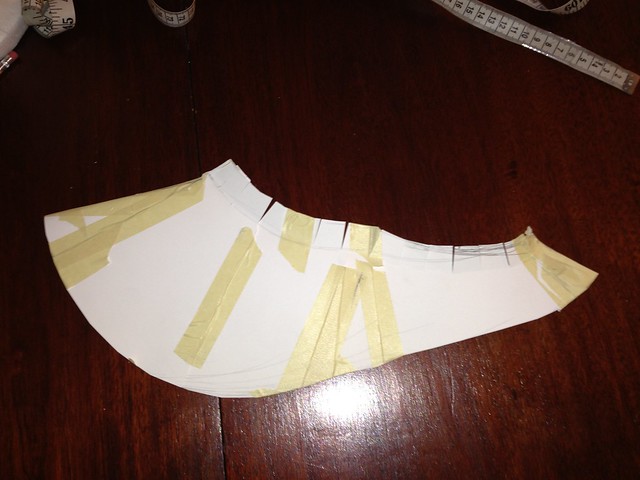
Pattern for the brim. Center front is 5.5" with additional .75" allowance. And a pattern for a circular top. I think I will try with the slightly elliptical top first, though.
I am tempted to make the crown higher. Maybe more like 5.5" high, but think I will go with this pattern for now.