
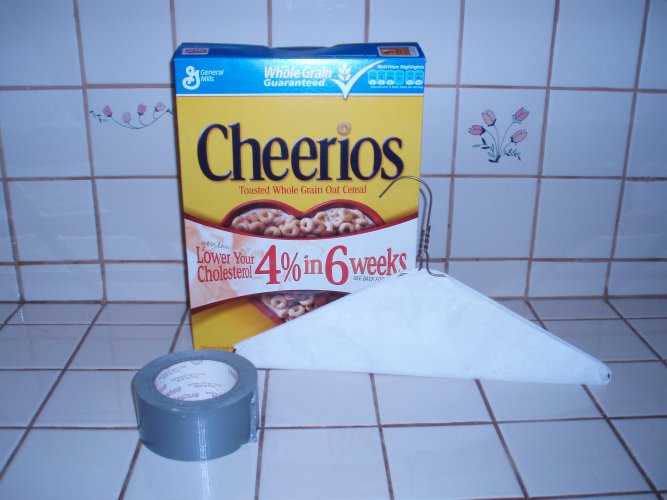
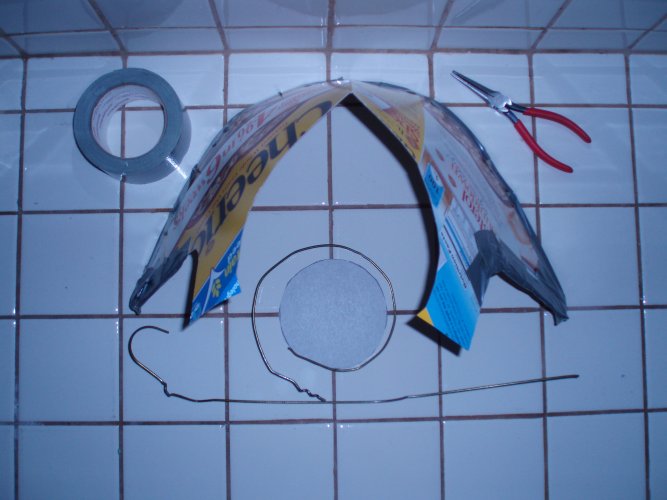
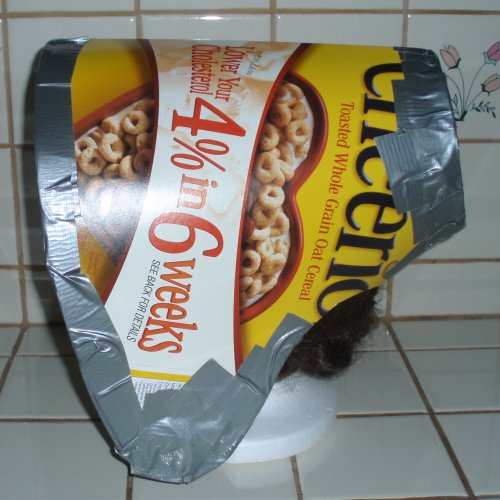
Cheerios cardboard box, metal wire hanger, duct tape.
|
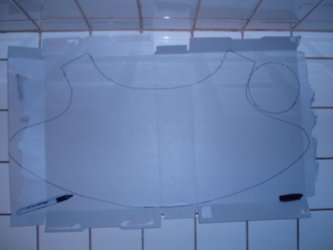
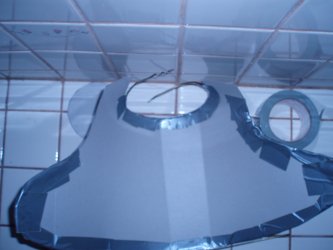
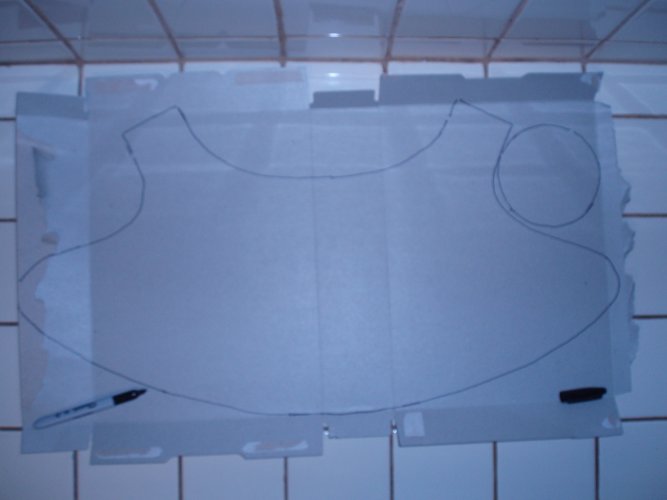
Open up the box. Trace out your favorite bonnet pattern onto the cardboard. 1/2" seam allowance for back
seam.
Shown: McCall's M5219
|

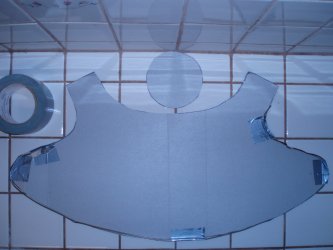
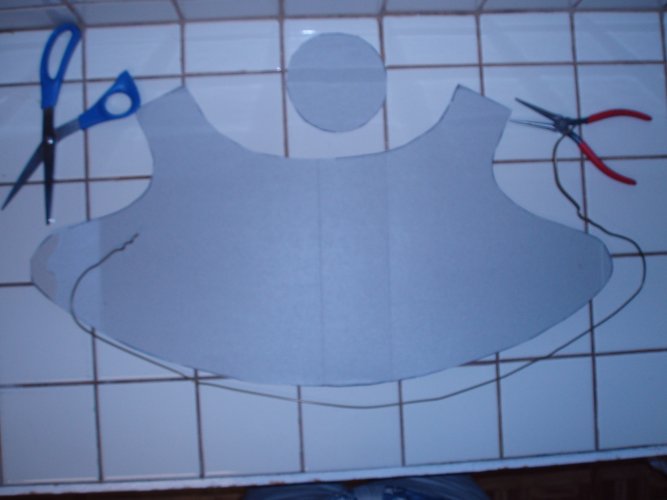
Cut coardboard. Untwist wire hanger and shape to brim edge of bonnet. |
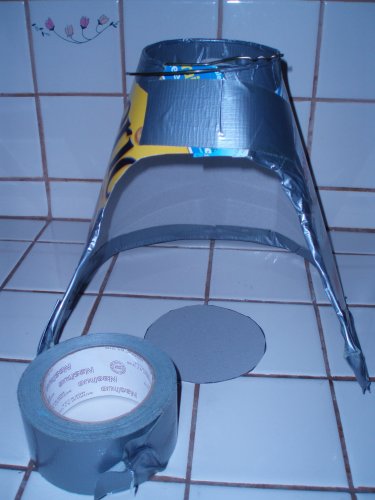
Duct tape wire to bonnet brim. Add more tape until wire is completely covered
especially over the pokey ends.
|
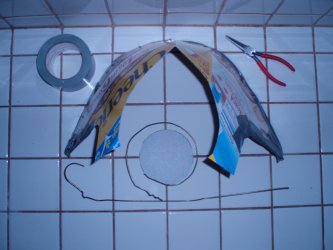
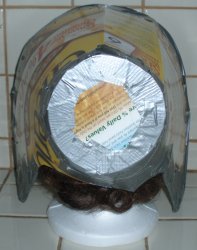
Get another wire hanger. Untwist it. Bend it back and forth in the middle until it
heats up and breaks. Take that wire and bend it into the circle back shape.
|
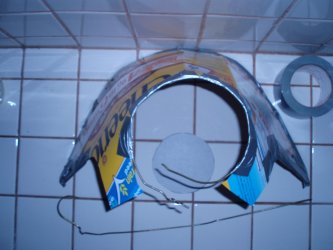
Duct
tape wire circle to the cardboard. Leave an 1" on each side untaped. There will be overlap wires.
|

Overlap the 1/2 inch back seam and duck tape.
|

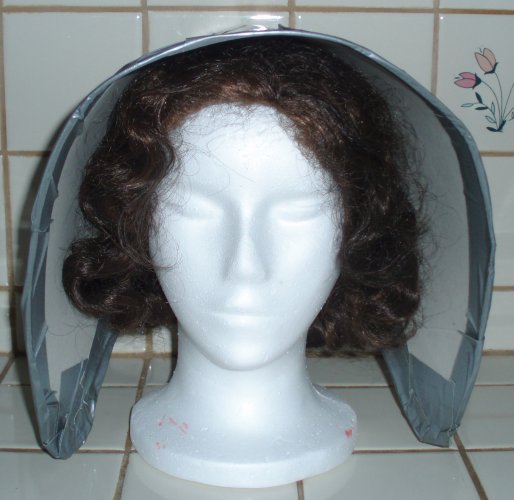
Duct tape the circle back to the bonnet.
|

Tape more of the edges.

|


|
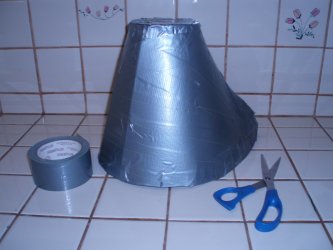
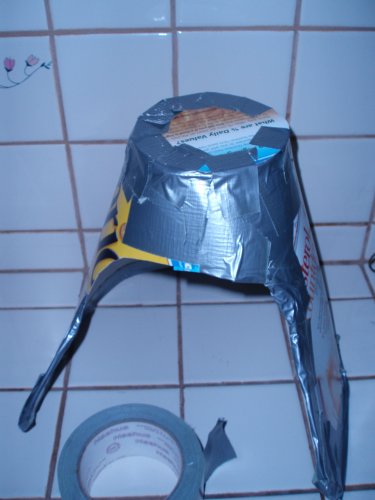
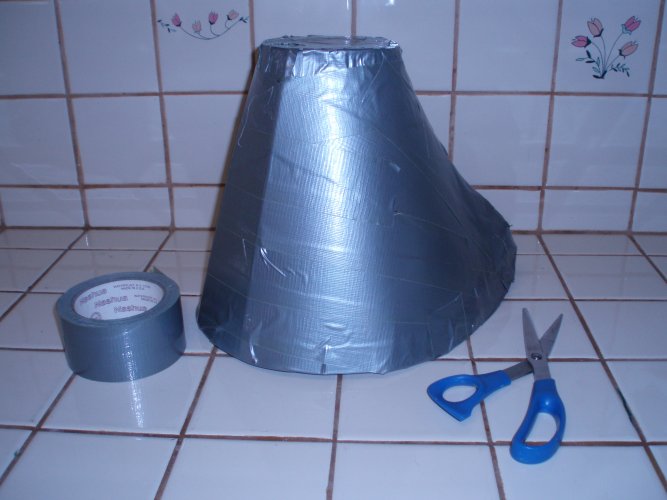
What the heck. Duck tape the entire outside in hope this will keep the cardboard
somewhat water proof.
|
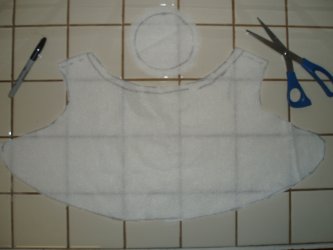
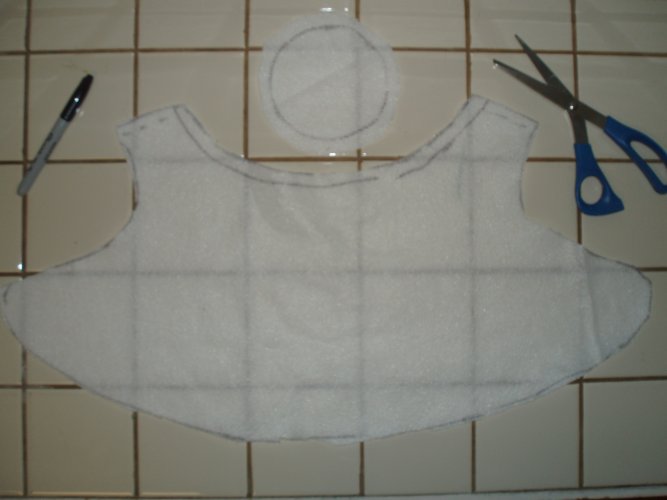
Trace pattern with seam allowance around back circle and back edge and back seam.
Cut out.
|
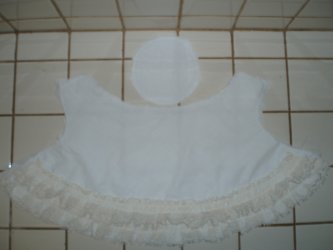
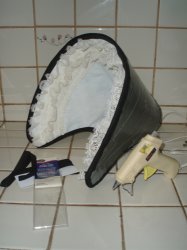
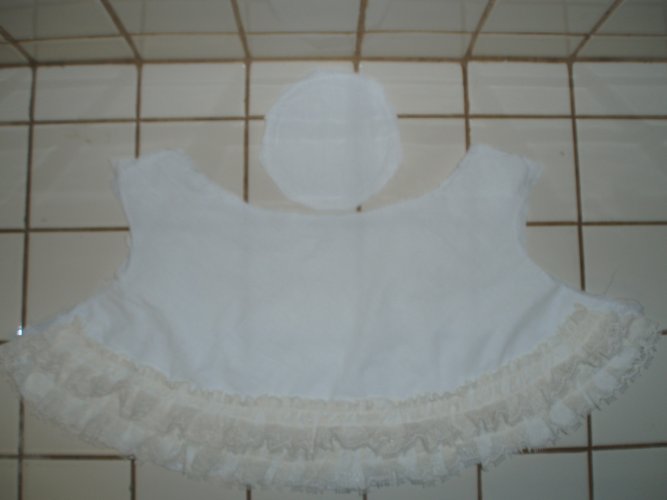
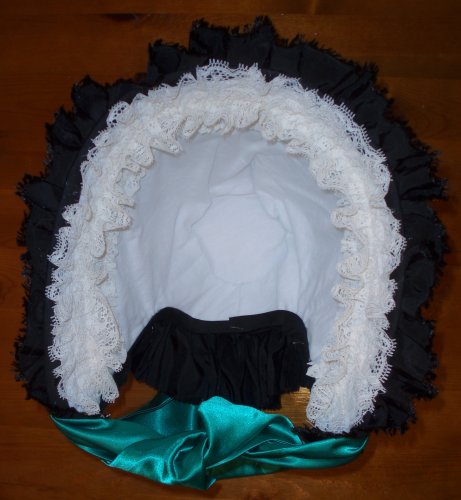
Cut out fabric for inside of bonnet, zigzag to fleece. Sew on any inside trim. In
this blurry image there are two rows of gathered lace near the edge.
|
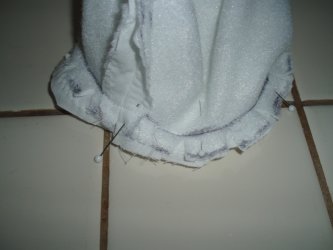
Sew back seam. Sew circle to bonnet.

|
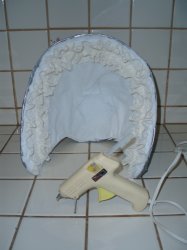
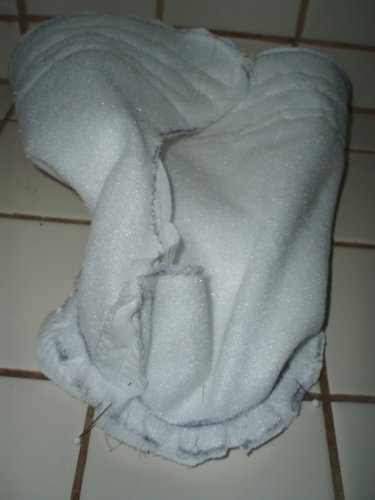
Glue inside to the inside of the bonnet.
|
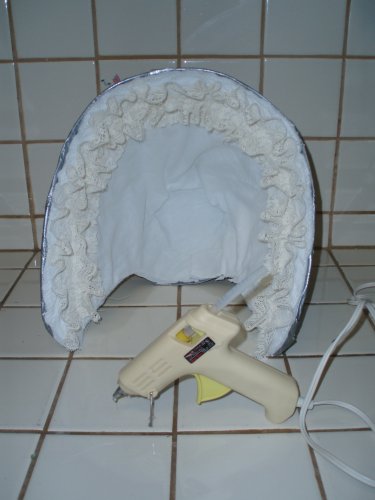
Glue seam binding to edge of bonnet.
|
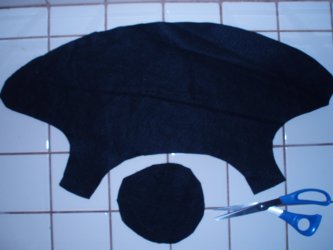
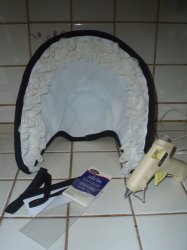
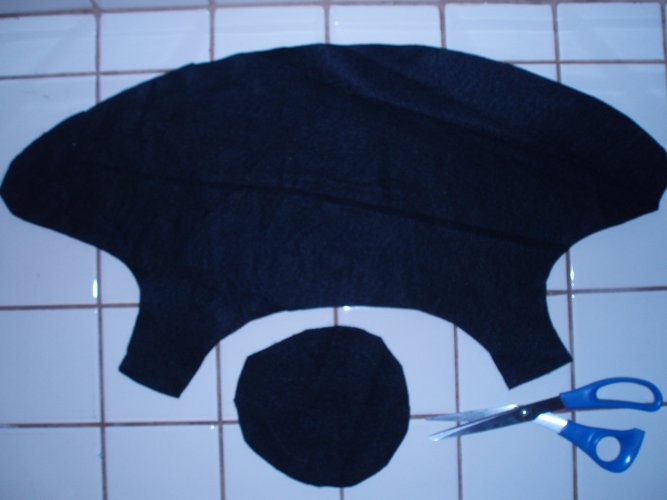
Cut out felt or fabric for cover.
|

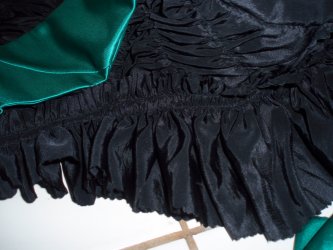
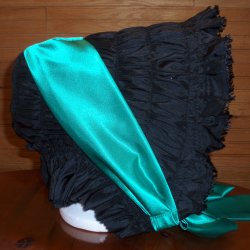
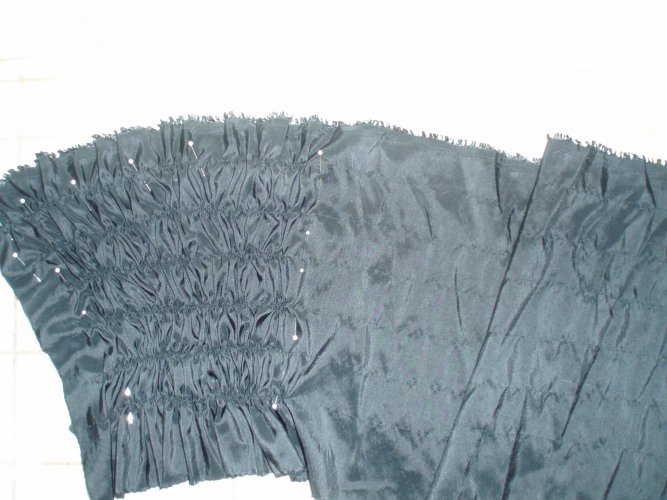
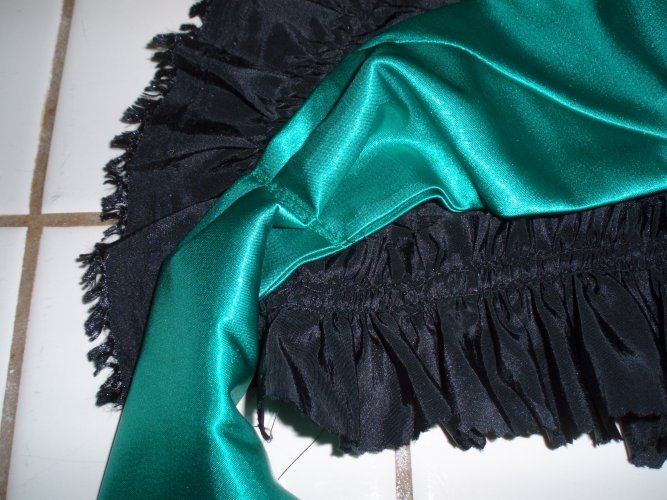
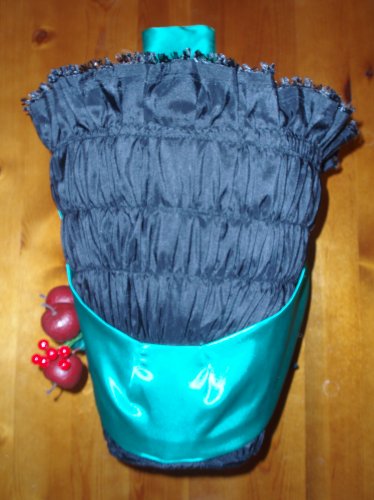
To make a faux drawn bonnet, cut fabric longer than the bonnet pattern. Make
five or so gathering lines and "draw"/pull up the fabric.
|
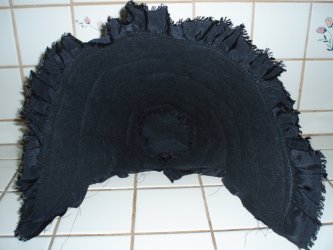
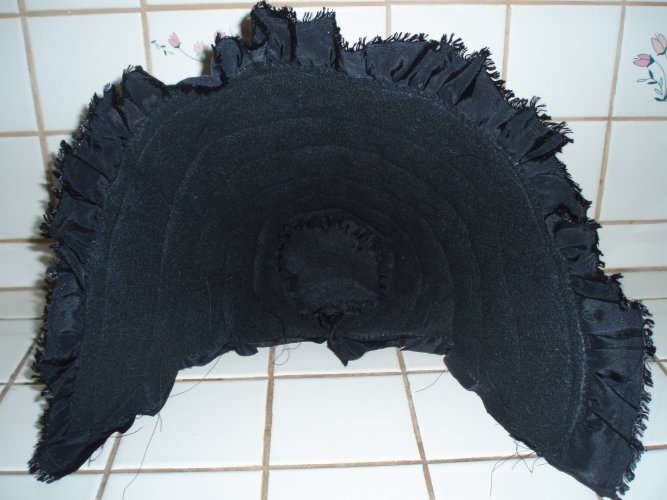
Sew on the gathering lines. Trim fabric from edges, leaving front edge as trim is optional.
Sew back seam and back to circle.
|
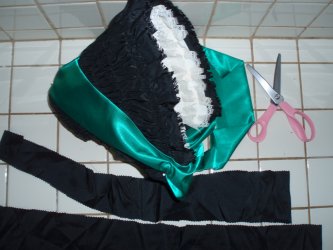
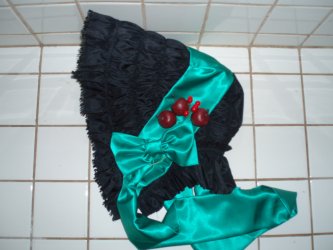
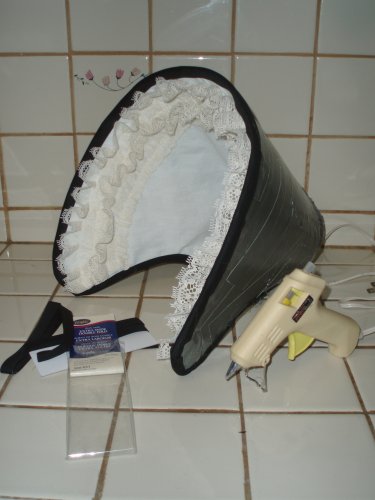
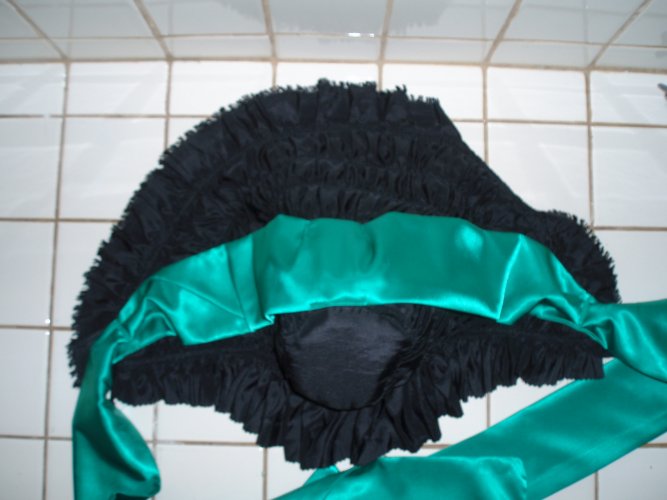
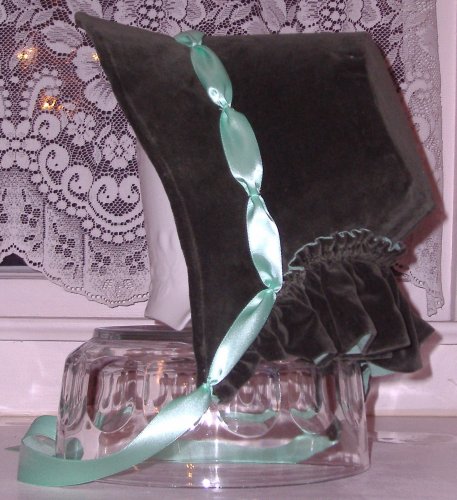
Make or measure out ribbon for ties. Should be at least 30 inches long from the tying edge
on each side.
Cut out fabric twice as long as bottom edge for bavolet (must be modest and cover the neck).
Pin ribbon while cover is on bonnet for ribbon placement.
|

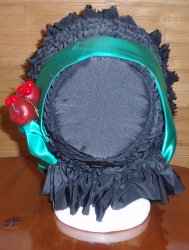
Remove cover from bonnet base. Gather bavolet. Sew bavolet to bottom edge on the gather lines. Sew down ribbon at back
and at the front where the ties will meet.

|
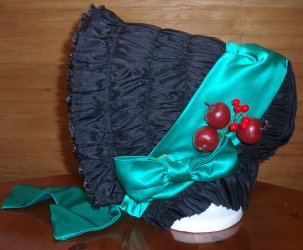
Sew on any other trims. All the trim is done before placing cover on cardboard because
may not be able to sew through the duct tape and cardboard afterwards.
|

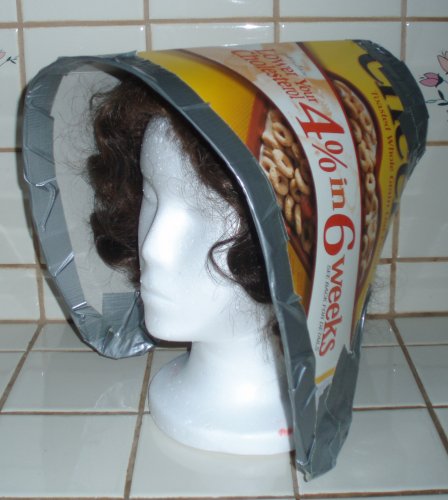
Glue cover to cardboard.
|


|


